5 Budget-Friendly Weekend Projects for Bedroom Makeovers
Weekend Projects For An Affordable Bedroom Makeover
If you’ve been dreaming about refreshing your sleeping space without spending a fortune, these five budget-friendly weekend projects for bedroom makeovers might be just what you need. Bedrooms are personal sanctuaries, so it’s essential to create a space that feels relaxing, organized, and true to your style.
The best part? You don’t need to break the bank to achieve an impressive transformation. In this guide, we’ll walk through some great updates and hacks that’ll help you tackle five core bedroom projects—accent walls, upcycled furniture, lighting revamps, smart storage solutions, and textile upgrades.
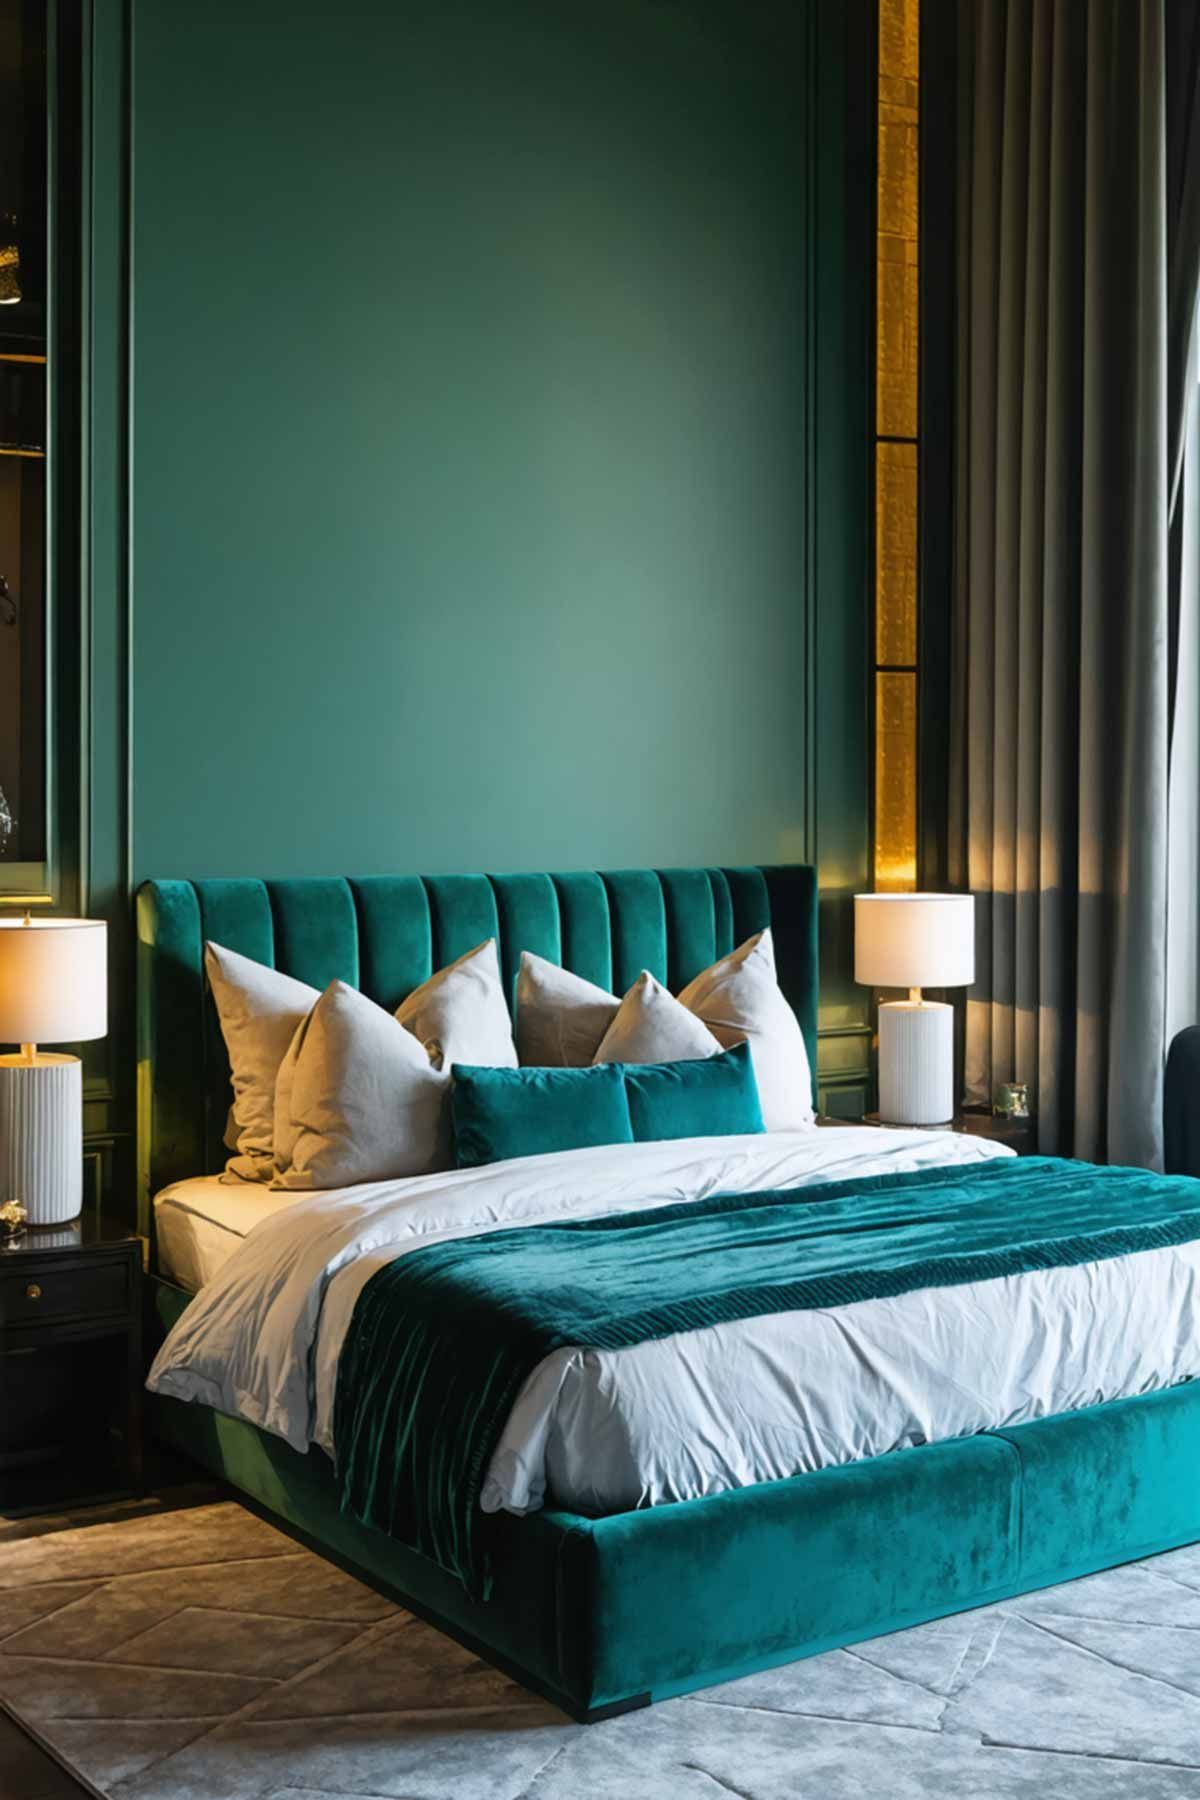
Project #1 – DIY Accent Wall Mastery
One of the quickest ways to give your bedroom a fresh look is by creating an accent wall. This weekend project for bedroom makeovers is a personal favourite for many homeowners because it’s both cost-effective and visually striking. An accent wall draws the eye, adds depth, and can completely shift the mood in your space. By focusing on just one wall, you’ll save on paint or wallpaper costs while still achieving a high-impact result.
Choosing the Right Wall
Selecting which wall to accent might be trickier than you’d think. Generally, you’ll want to highlight the wall your bed sits against since it naturally acts as a focal point. However, consider the overall layout of your bedroom. If you have a unique architectural feature—like a built-in bookcase, a fireplace, or large windows—highlighting that area can also make a bold statement.
Before you commit, take a few steps back and visualize how colour or pattern on that wall might harmonize with the rest of the room.
- Tip #1 : If your bedroom gets a good amount of natural light, try a darker hue for a cozy yet dramatic vibe.
- Tip #2 : If your space is small or doesn’t have much natural light, opt for bright or pastel shades to keep it from feeling cramped.
- Tip #3 : Test paint swatches in various lighting conditions—daylight, evening, and artificial lighting—to ensure you love the colour at all times.
Remember, this is your private haven. Don’t be afraid to explore colours or patterns that truly resonate with your personality. Whether you’re going for modern minimalism, rustic charm, or vintage eclectic, an accent wall sets the tone for the rest of your bedroom makeovers.
Materials & Tools
Paint: High-quality interior paint is usually worth the investment, as cheaper options may require multiple coats. Opting for a paint-and-primer combination can save you time and money.
Wallpaper or Decals: For a faster update, wallpaper or removable decals work wonders, especially if you’re renting or just testing out a style. Peel-and-stick wallpapers have come a long way, offering endless patterns that can be easily swapped out if you change your mind.
Tools & Equipment: You’ll need paint brushes or rollers, painter’s tape, drop cloths, and a step stool or ladder. If you’re wallpapering, grab a smoothing tool and sharp utility knife to trim excess material neatly.
Here’s a quick overview in a table:
| Item | Purpose | Approx. Cost |
| Paint Brushes | For edging and detailed areas | $5–$10 each |
| Paint Rollers | To cover larger surfaces quickly | $3–$8 per roller |
| Painter’s Tape | To create crisp lines and protect trim | $3–$7 per roll |
| Drop Cloth | To protect floors from paint spills | $5–$10 |
| Peel-and-Stick Wallpaper | Quick application and easy removal for accent walls | $25–$40 per roll |
| Smoothing Tool | Helpful for eliminating bubbles in wallpaper | $3–$7 |
Focusing on just one wall lets you keep the overall cost in check—making this a perfect candidate for budget-friendly bedroom makeovers. By dedicating a weekend to your accent wall, you can transform your bedroom’s ambiance faster than you might think.
Wallpaper Suppliers In Australia
Its super easy to buy wallpaper online these days. Many of the suppliers have info on about how to measure and order as well so you shouldn’t be intimidated at all. And of course, check out YouTube for many MANY video’s on installation.
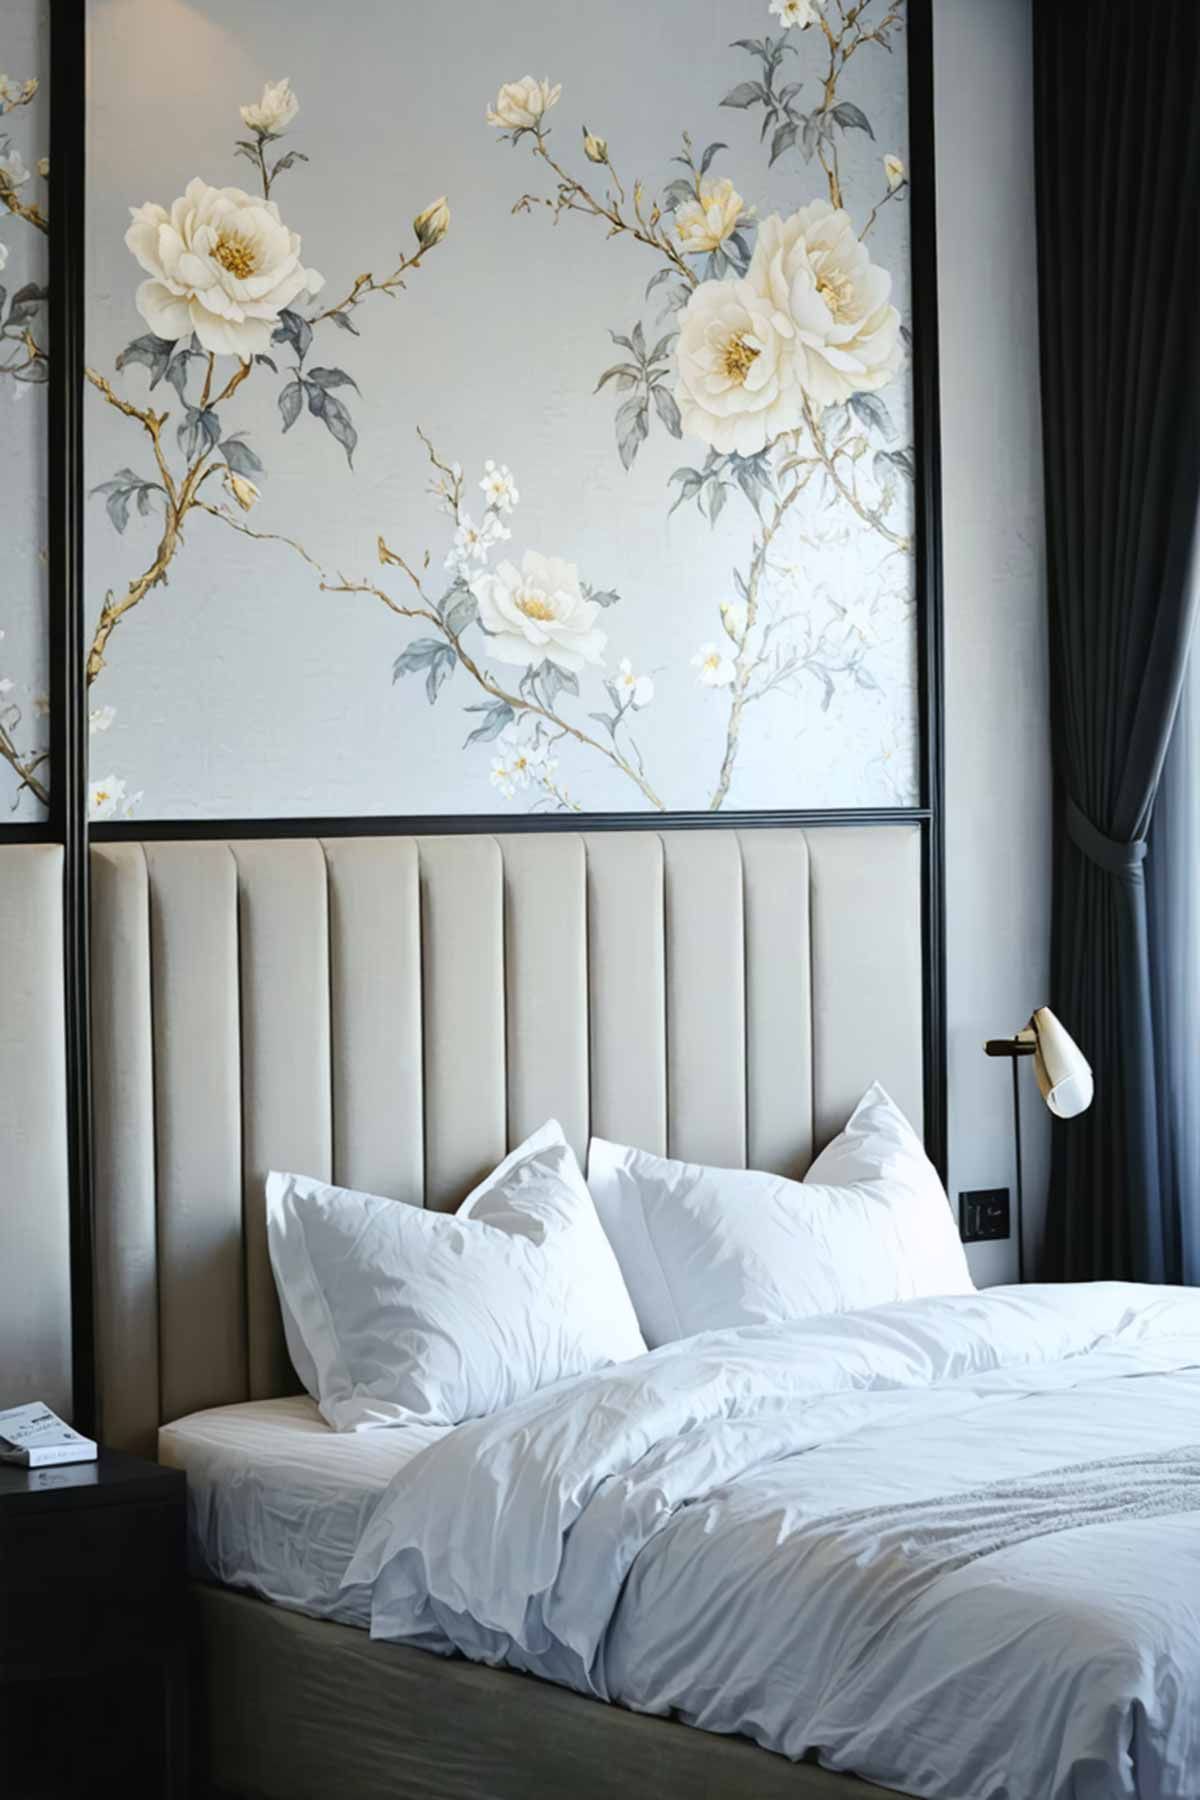
- Olive et Oriel has some lovely subtle mural wallpapers along with a wide variety of themed prints
- If you are looking for a photo as a wallpaper, Better Walls have some amazing options. If you have a very edge modern styled bedroom, you could consider a wallpaper of graffiti without having to pay for an artist to do it. Some of these aren’t really suited for a bedroom, but you may find something you like. The fluffy clouds are pretty cool!
- Wallpaper Direct has some amazing options. Their website is pretty busy but they do have some great colours and styles and lots of info on hanging, removing, measuring etc.
Project #2 – Upcycling Furniture
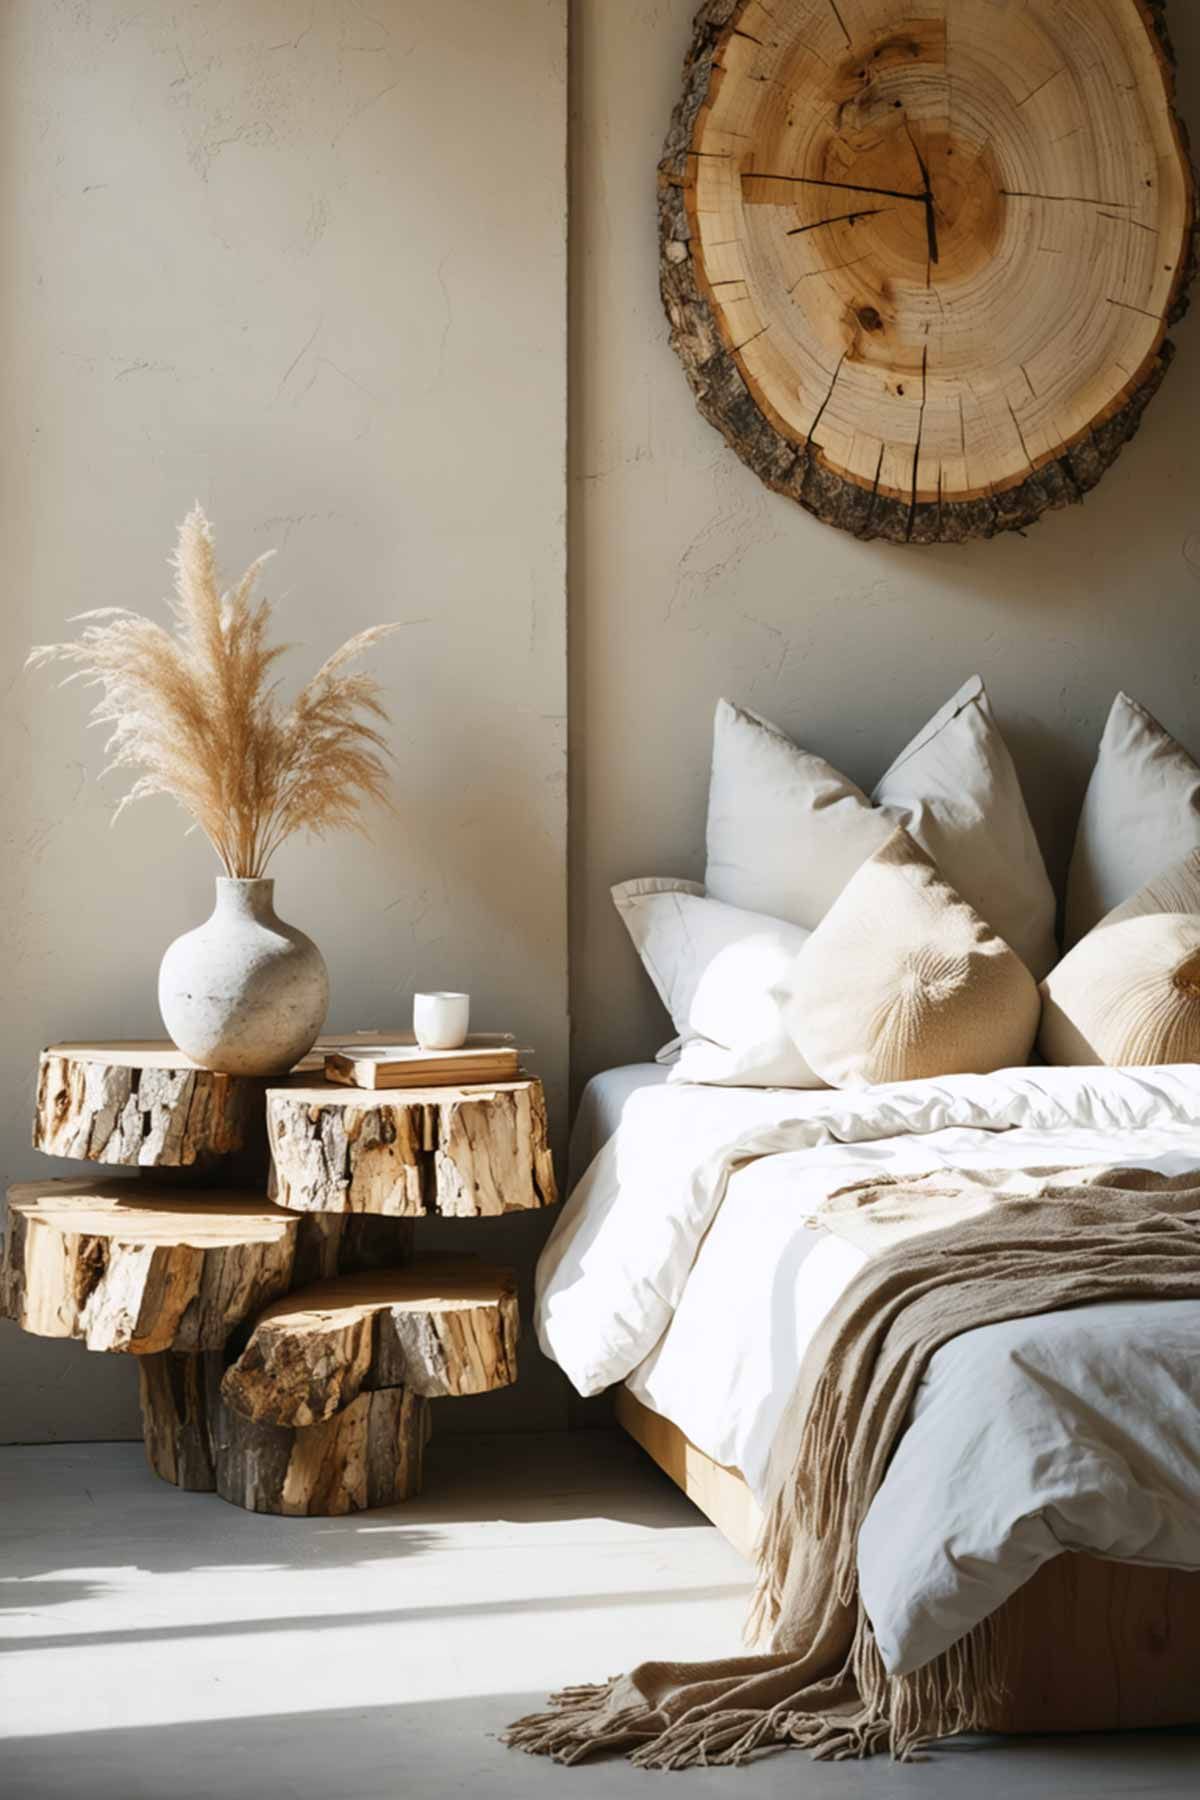
Let’s face it: brand-new bedroom sets can get pricey. But there’s good news—you don’t have to buy all-new furniture to accomplish stunning bedroom makeovers. Upcycling is your wallet’s best friend and an eco-friendly approach that gives old pieces new life. If you’re willing to roll up your sleeves, you can transform a worn-out dresser or bland nightstand into a statement piece that elevates your whole room.
Prepping Old Pieces
Before you start painting or refinishing, thorough prep is crucial to ensure a durable finish. Begin by assessing the condition of your furniture. Are there scratches, dents, or peeling paint? Address these imperfections first.
- Cleaning: Use a mild detergent or vinegar-water solution to wipe off dirt and grime.
- Sanding: If the furniture has a glossy finish, lightly sanding the surface helps paint adhere better. Focus on smoothing any rough patches.
- Priming: Applying a coat of primer can improve paint adhesion and reduce the number of coats you’ll need later.
When selecting a piece to upcycle, consider items that have “good bones”—sturdy frames, quality wood, or interesting details. You can often find real gems at thrift stores, garage sales, or by asking friends and family if they have anything they’re ready to part with.
Painting & Refinishing
Paint is one of the easiest ways to give your furniture a face-lift. Opt for latex or chalk paint, which are beginner-friendly and deliver a smooth finish. Here’s a rundown of approaches:
- Chalk Paint: Ideal for a vintage or shabby-chic look. Chalk paint adheres to most surfaces with minimal prep. Finish it off with wax or a water-based polyurethane for longevity.
- Spray Paint: A quick approach for smaller items like lamps, handles, or decorative trims. Always spray outdoors or in a well-ventilated area.
- Stain & Seal: If you prefer the natural wood grain to show, choose a suitable wood stain. Remember to seal it with a clear topcoat for protection.
Don’t forget the power of new hardware. Swapping out drawer pulls or knobs can instantly modernize a piece. You’ll find numerous styles at hardware stores or online marketplaces, allowing you to match your bedroom’s colour palette and theme.
Cost-Saving Tip: Gather leftover paint from previous projects or buy sample sizes. If you need a specific colour, tinted sample pots cost way less than a 4 litre can. This approach is perfect for small furniture items or minor touch-ups.
Here’s a quick look at potential costs:
| Item | Purpose | Approx. Cost |
| Sandpaper | Prepping surfaces for painting or staining | $5–$10 for a pack |
| Primer | Ensures better paint adhesion | $10–$15 per litre |
| Paint (Latex/Chalk) | Adds colour and protects the surface | $15–$30 per litre |
| New Hardware | Updates the look of drawers, doors, etc. | $2–$10 each |
By upcycling, you’ll bring character to your bedroom makeovers while keeping expenses under control. Whether you choose a bright colour to make a statement or a subtle pastel for a gentler vibe, your new-old furniture pieces will contribute a personalized touch to your overall design.
Project #3 – Lighting Revamp
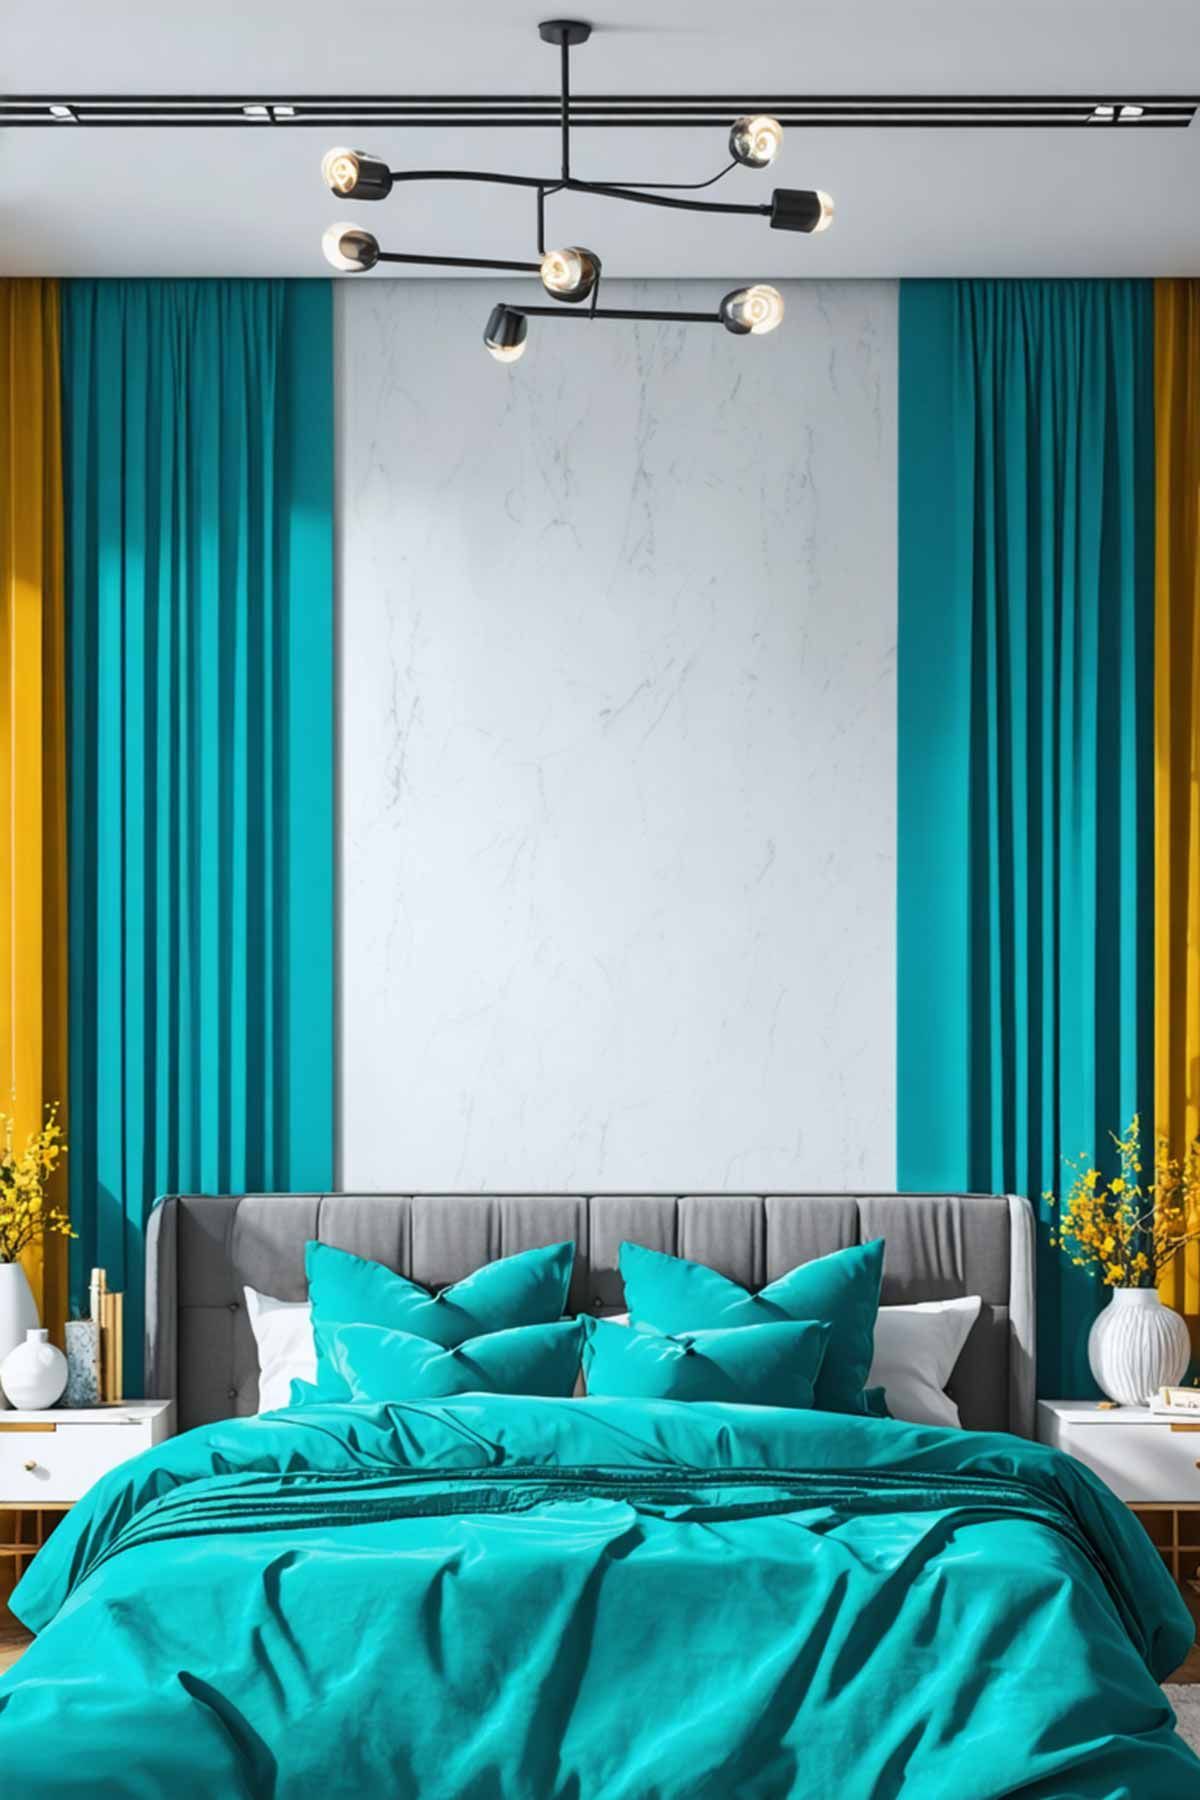
Lighting plays a significant role in any successful bedroom makeover. An effective lighting scheme can make a small room feel spacious, or a large room feel cozy. When done right, it highlights your accent wall, showcases your upcycled furniture, and creates the perfect ambiance for relaxation.
Changing hard wired lighting fixtures will involve using an electrician, so this could be a more costly exercise. However, if you do want to change your overhead lights, ensuring they will fit in the existing location will lessen the costs. Having all the items ready to go will also reduce the costs of any contractors.
If they just have to come in, remove one light and install another that will fit into the same space, that will be heaps more affordable than having to rework plaster and fixings as well.
Layered Lighting Basics
Think of lighting in layers: ambient, task, and accent lighting.
- Ambient Lighting: This is your primary light source. It might be a ceiling fixture, chandelier, or recessed lights. If your current overhead lighting is harsh or outdated, a quick fix might involve swapping in a new fixture or installing a dimmer switch so you can adjust the brightness.
- Task Lighting: Whether it’s reading before bed or organizing your closet, task lighting provides focused illumination. Table lamps on nightstands and floor lamps next to a reading chair are popular choices. For a more modern approach, consider wall-mounted lamps that free up surface space.
- Accent Lighting: This layer includes decorative features like string lights, LED strips behind your headboard, or small spotlights to highlight artwork. Accent lighting creates depth and a welcoming atmosphere—perfect for those cozy nights in.
Pro Tip: Installing LED bulbs can save you money on your electric bill while offering an assortment of colour temperatures (warm, neutral, or cool) to set your preferred mood.
Affordable Lighting Ideas
Contrary to popular belief, you can achieve sophisticated bedroom makeovers without dropping a bundle on designer lighting. Here are a few cost-conscious suggestions:
- DIY Lampshade : If you’ve got a plain lampshade, a bit of fabric glue and leftover fabric can transform it into a custom piece.
- String Lights : Drape them around a mirror or headboard. They bring a whimsical feel and can double as soft lighting.
- Pendant Lights : Hanging pendant lights on either side of the bed is trendy and frees up space on nightstands. Look for budget-friendly options at home improvement stores.
- Smart Bulbs : These might cost more upfront, but they let you change colours and brightness levels via your smartphone. You can set timers or create routines to help you unwind or wake up gently.
By mixing and matching these ideas, you’ll transform your bedroom into a well-lit haven that’s as cozy as it is stylish. After all, lighting is one of the easiest ways to refresh your room without undergoing a lengthy renovation.
Project #4 – Smart Storage Solutions
No bedroom makeover is complete without adequate storage. Clutter often stands in the way of a tranquil, inviting space. Streamlined storage solutions are key to making your bedroom feel polished and relaxing—without spending big bucks. If you’d like your weekend projects for bedroom makeovers to deliver not just style but also functionality, zeroing in on storage is a must.
De-Cluttering Strategy
Begin by sorting your bedroom items into categories:
- Keep: Essentials and sentimental pieces you can’t part with.
- Donate: Items still in good shape but no longer needed.
- Recycle/Discard: Anything that’s broken or unusable.
Having a clear sense of what stays and goes makes it easier to plan out storage solutions. This is a great time to reevaluate your bedroom’s layout, too. Are your dressers in the best spot, or could rearranging them free up valuable space?
Colloquial Tip: Think of that junk drawer as your personal “black hole.” Get rid of unnecessary stuff, and you’ll find your bedroom feeling lighter in no time.
Creative Storage Hacks
From under-the-bed boxes to built-in shelves, there’s a wide range of storage ideas to explore. Below are some tried-and-true favorites:
- Floating Shelves: Perfect for displaying décor or storing books, floating shelves keep your floor space open.
- Under-Bed Containers: Slide-out bins or vacuum-sealed bags are lifesavers for storing off-season clothing or extra linens.
- Over-the-Door Organizers: Hang one for shoes or accessories to save closet space. Some come with clear pockets, letting you see everything at a glance.
- Baskets & Bins: Uniform baskets on shelves create a clean, cohesive look and help categorize items.
- Built-Ins: If you’ve got a little more DIY experience, adding custom built-in shelves or a window seat with storage can significantly elevate your bedroom makeovers.
Here’s a quick table summarizing cost-effective storage ideas:
| Storage Solution | Benefits | Approx. Cost |
| Floating Shelves | Saves floor space, modern look | $10–$30 per shelf |
| Under-Bed Bins | Utilizes unused space effectively | $8–$25 each |
| Over-the-Door Rack | Compact, keeps small items organized | $10–$20 |
| Baskets or Bins | Easy to move, great for loose items | $5–$15 each |
| DIY Built-Ins | Fully customizable, higher skill level required | Varies based on materials |
An organized bedroom is more than just visually appealing—it also simplifies your daily routine. By prioritizing functional storage, your weekend bedroom makeovers won’t just look good; they’ll make your life easier, too.
Project #5 – Textiles & Accessories Upgrade
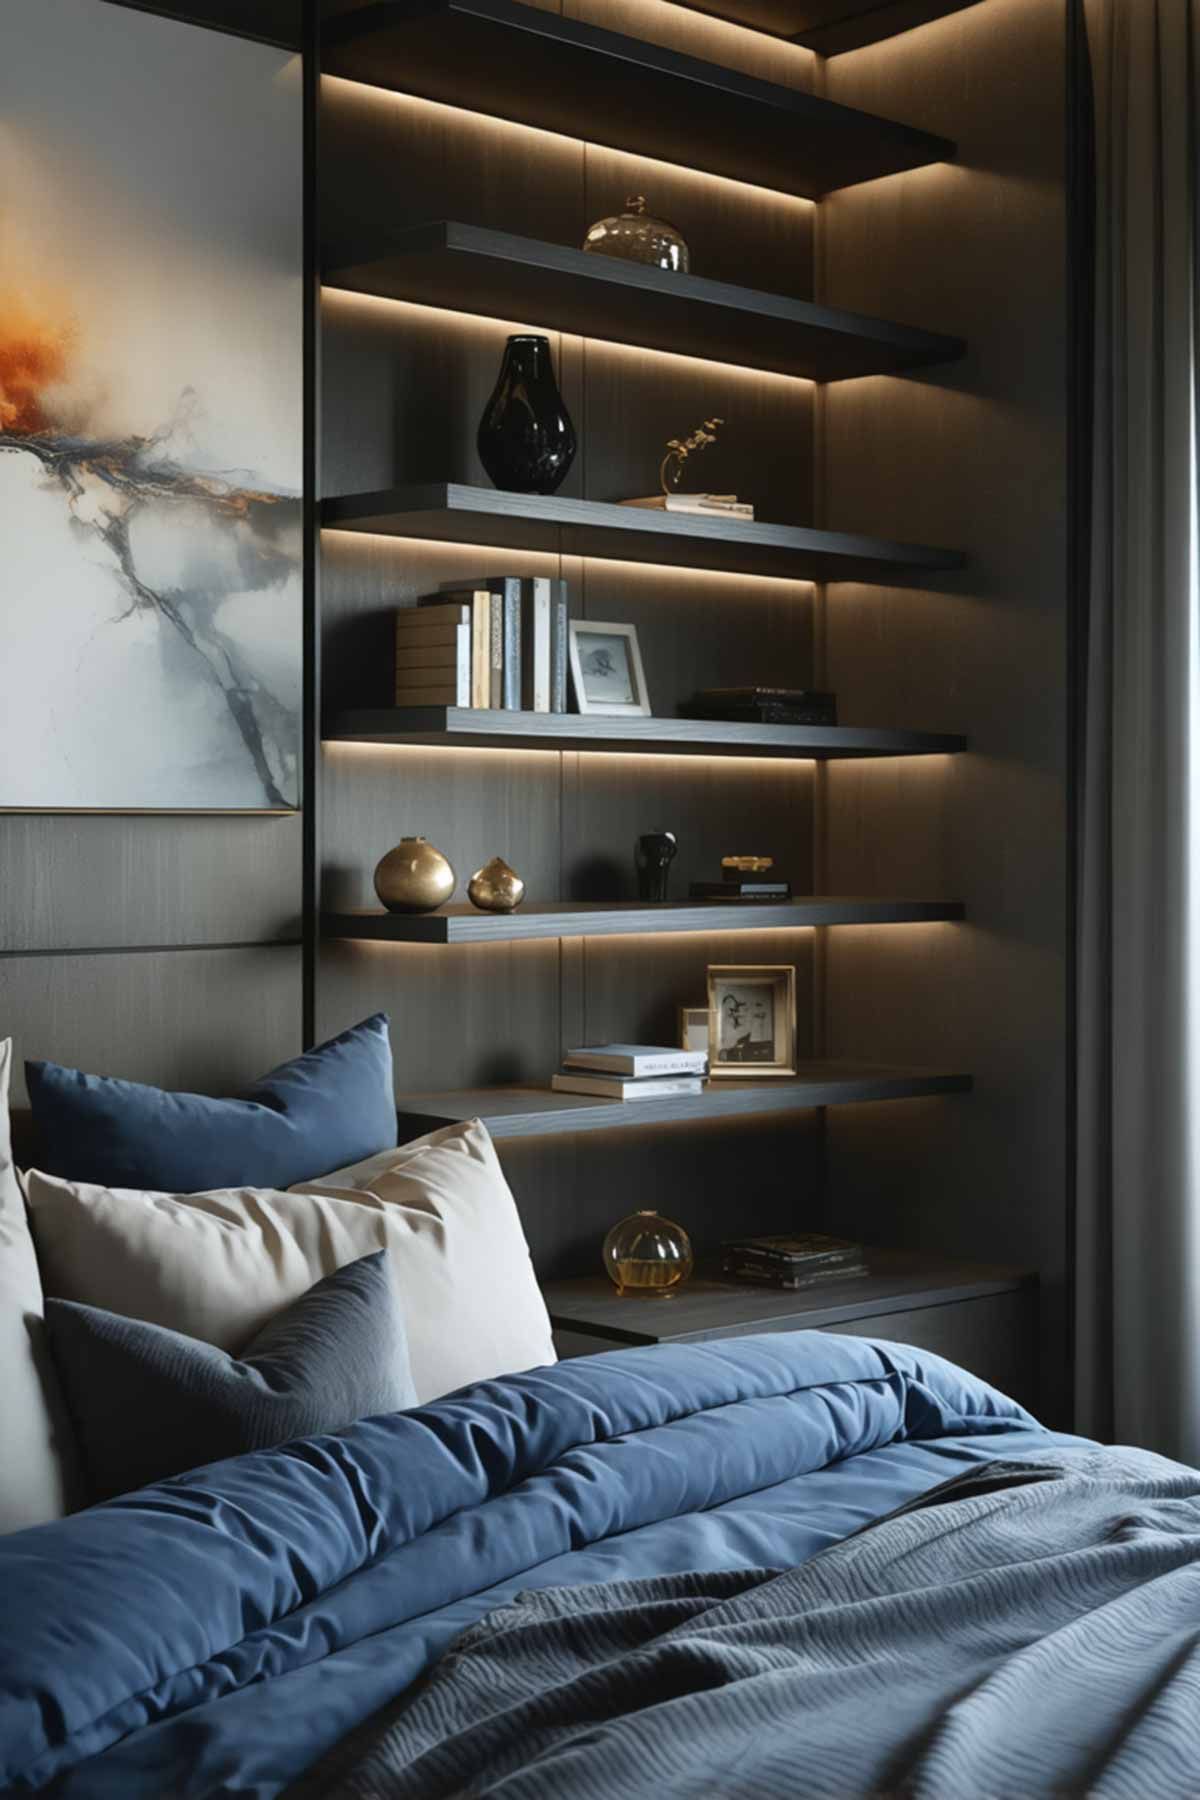
Textiles are often overlooked in bedroom makeovers, yet they have a remarkable impact on a room’s warmth, comfort, and style. This final project focuses on how you can upgrade your bedding, curtains, rugs, and accessories to pull your entire design together. Don’t underestimate the power of a well-chosen throw blanket or accent pillow—they can set the tone for your whole space.
Selecting Complementary Fabrics
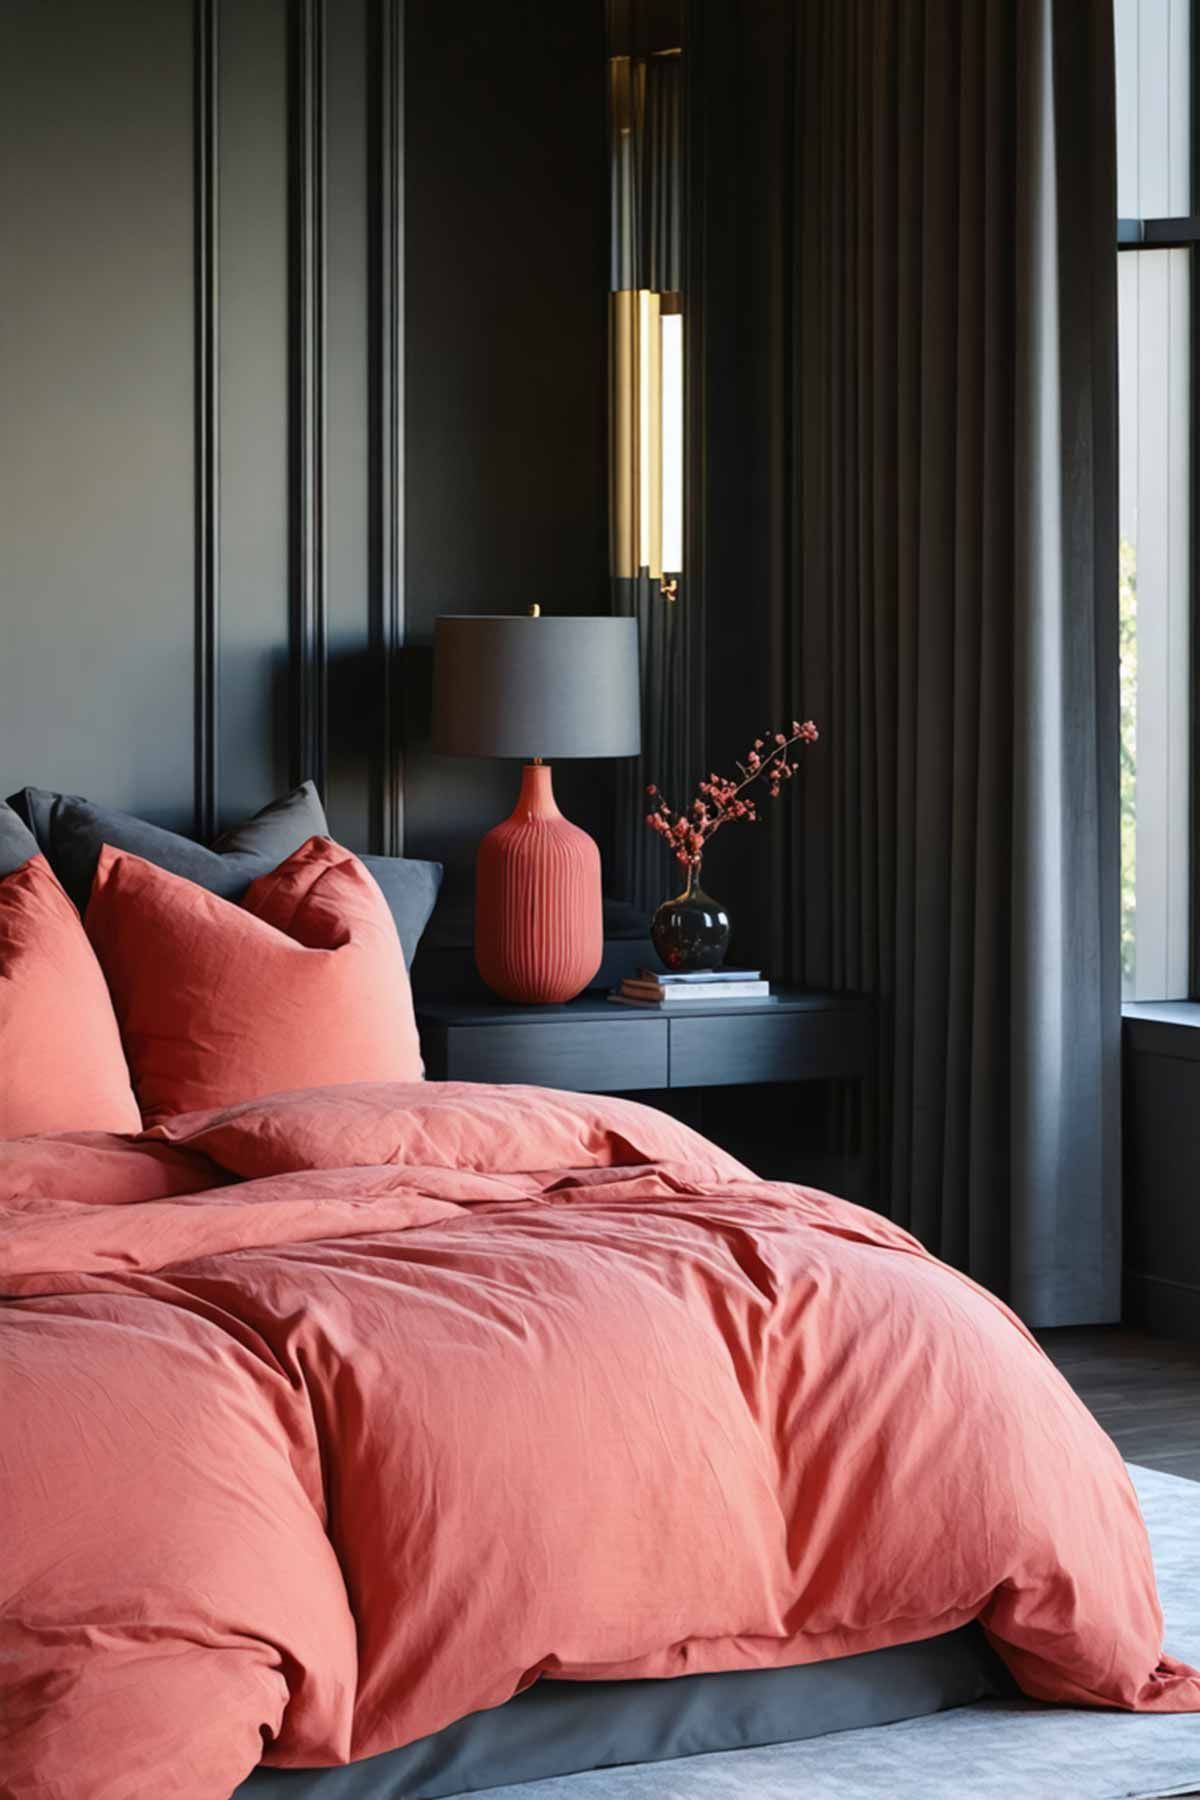
When mixing textiles, consider colour, pattern, and texture. You want harmony, but don’t be afraid of a bit of contrast. For example, if your accent wall is a deep navy blue, selecting sheets or curtains with subtle navy accents can tie the look together.
- Bedding: Invest in quality sheets, as they directly affect your comfort. You don’t need designer linens; often, reasonably priced cotton or microfiber sets are both soft and durable.
- Curtains: If you like a dark, cozy environment, opt for blackout curtains. If you prefer a bright, airy vibe, go for sheer or semi-sheer materials.
- Rugs: A plush rug underfoot provides warmth and can anchor your furniture arrangement. Choose a colour or pattern that complements your bedding and accent wall.
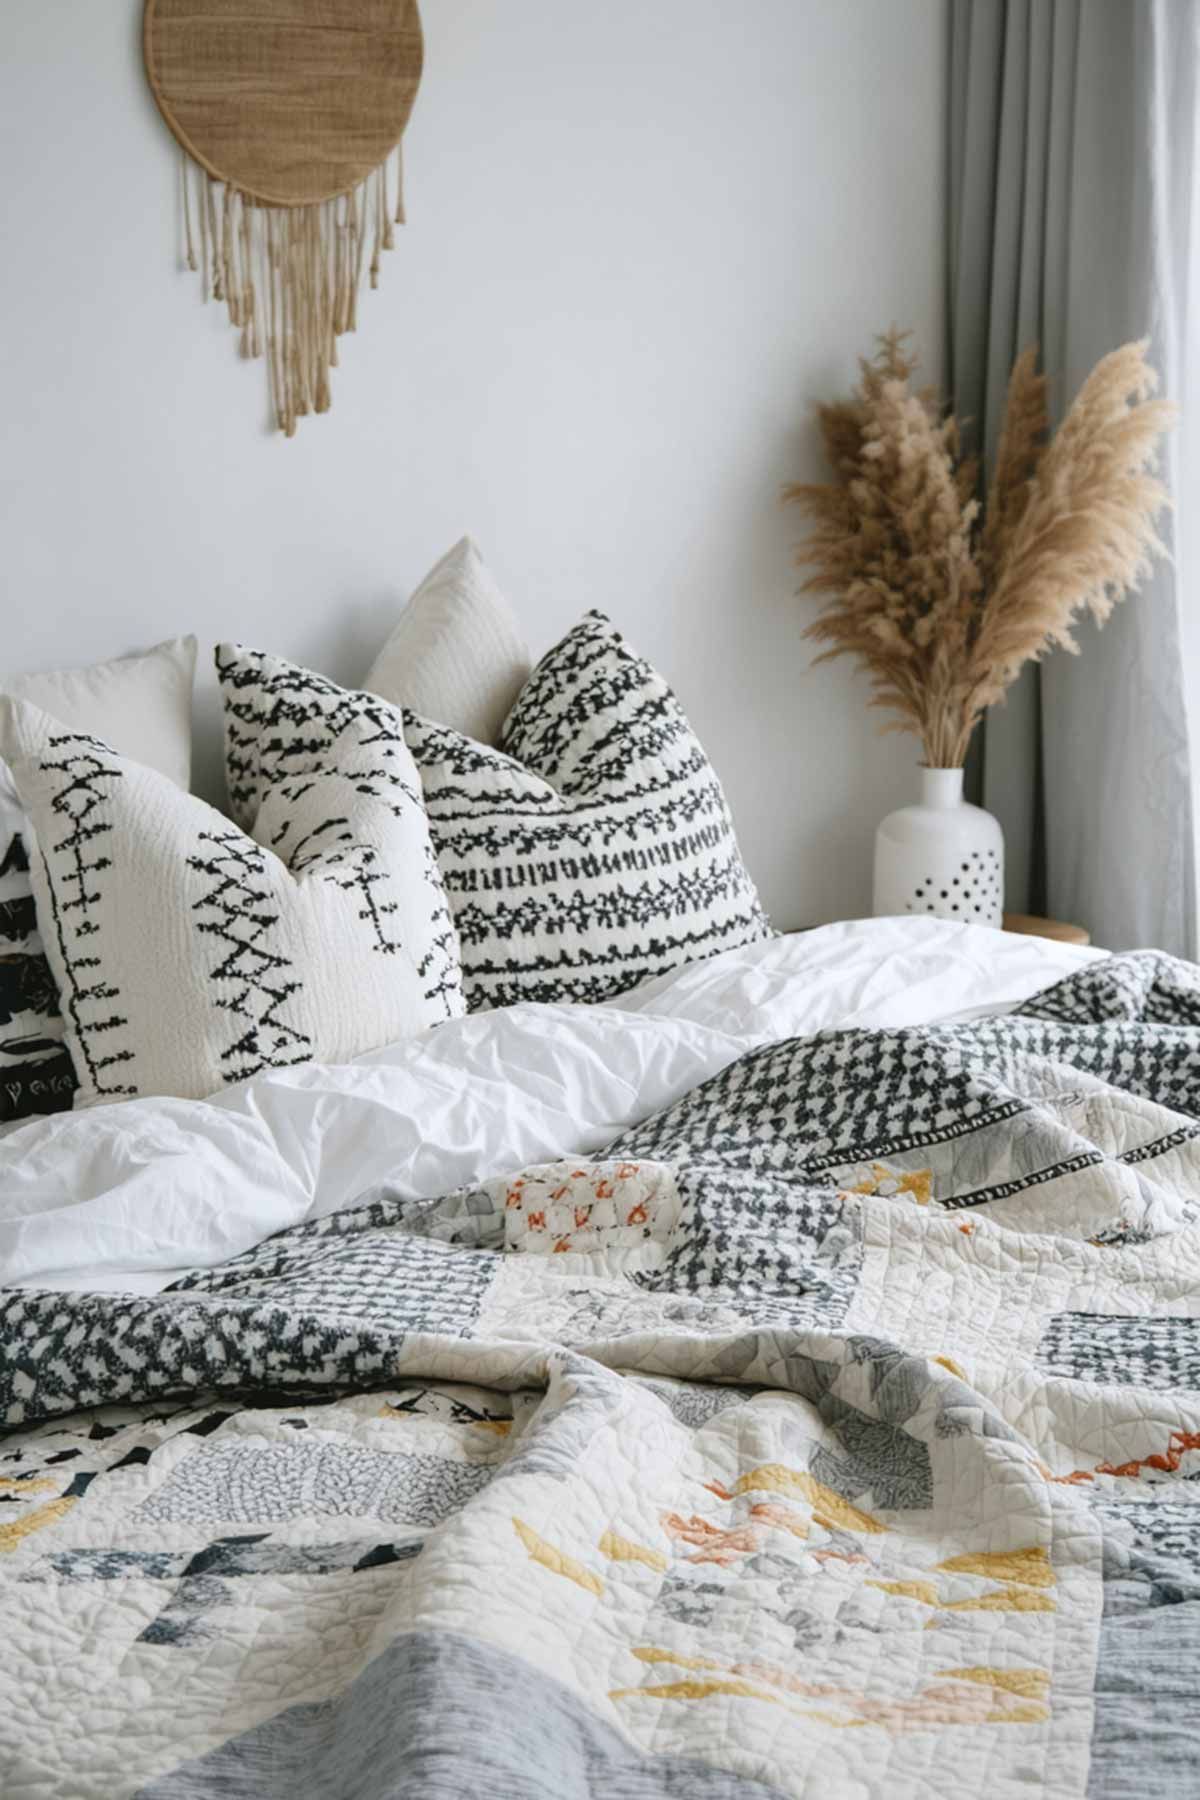
Try layering patterns in a subtle way, like pairing a striped rug with a solid comforter and small-patterned pillows. The key is to ensure that your colours share a common thread, whether through warm or cool undertones.
Pulling It All Together
Accessories like throw pillows, blankets, wall art, and decorative items can infuse personality into your bedroom makeovers. Here’s how to do it without overspending:
- Pillows & Throws: These items can be swapped out seasonally, so keep them fun and budget-friendly.
- Artwork: If you’re artistic, create your own. Otherwise, consider printable art you can frame yourself.
- Plants: A few potted plants or faux greenery breathe life into any space.
- Mirrors: Strategically placing mirrors can make a room look larger and reflect light.
- Personal Touches: Display cherished photos or souvenirs for a homey feel.
Let’s summarize the cost estimates:
| Item | Purpose | Approx. Cost |
| Bedding Set | Enhances comfort and colour scheme | $30–$80 |
| Curtains | Controls light, adds style | $20–$60 per panel |
| Area Rug | Warms up the floor, anchors the design | $40–$100+ |
| Throw Pillows/Blankets | Adds visual interest & cozy layers | $10–$30 each |
By upgrading your textiles and accessories, you’ll notice how everything ties together to create a cohesive, inviting space. This finishing step is often the most rewarding, as it truly brings your bedroom makeovers to life.
Conclusion
Embarking on weekend projects for bedroom makeovers doesn’t have to be daunting—or expensive. By focusing on accent walls, upcycling furniture, upgrading lighting, creating clever storage solutions, and refining your textiles and accessories, you can dramatically enhance your bedroom’s look and feel. Each project is approachable, even for beginner DIYers, and the results can be genuinely transformative.
Remember that successful bedroom makeovers are about more than just aesthetics; it’s also about designing a calm, functional, and personal space. A little paint here, some new bedding there, and a few carefully chosen accessories can truly revamp your entire bedroom. By setting aside a couple of weekends, you’ll be well on your way to creating a dreamy retreat you’ll love coming home to each night.
Enjoy experimenting with colours, textures, and layouts. And don’t forget to have fun in the process! With the right materials, a solid plan, and a bit of creativity, your bedroom makeover will shine for years to come.
Common FAQs for Bedroom Makeovers
Before we conclude, let’s tackle some frequently asked questions about bedroom makeovers. These queries often pop up when folks want to refresh their space without the stress or sky-high costs.
How much should I budget for a weekend bedroom makeover?
It varies based on the scope of your project. You could spend as little as $100 if you’re just painting an accent wall and adding a few accessories. If you’re also upcycling furniture and incorporating new lighting, budget closer to $300–$500. Focus on prioritizing what’ll give you the most significant impact for your money—like painting or updating fabrics.
Do I need professional help for these projects?
Most of these weekend bedroom makeovers are doable without professional assistance. Painting, installing shelves, and upcycling furniture only require basic DIY skills. If you’re comfortable wielding a paintbrush and a drill, you should manage just fine. However, for complex electrical work—like installing new wiring—it’s safer to consult a licensed electrician.
Can I reuse old curtains and bedding in a new design?
Absolutely! Sometimes a thorough wash, a quick dye job, or pairing them with new accessories can breathe fresh life into old textiles. Consider layering or mixing them with new pieces for an eclectic look. But if you notice serious wear and tear, it might be time to replace them with budget-friendly options.
How do I ensure my bedroom doesn’t look cluttered with multiple DIY projects?
Planning is everything. Start with a clear design vision and stick to a colour scheme that harmonizes across paint, furniture, and textiles. Store or donate any items that no longer fit your look. Incorporate smart storage solutions to keep surfaces clutter-free.
Are there any quick ways to refresh bedroom décor if I’m short on time?
Yes, small swaps can yield major transformations. Switching out throw pillows, adding a new lamp, or rearranging furniture can create a fresh vibe. Even updating hardware on drawers and doors can make a noticeable difference.
Where can I find design inspiration for my bedroom makeovers?
Look at home improvement TV shows, interior design websites, or social media platforms like Pinterest and Instagram. You can also browse magazines, blogs, or visit showrooms for up-close ideas. Houzz is a great platform for curated ideas and professional tips.

About The Author
I'm Channing and I am the driving force behind Platypus and Pine. I've had over 30 years of experience in designing, renovating and customising Australian homes.
I've used everything from aluminium to velvet as decor choices and love a wide variety of styles and themes.
My absolute favourite is Mid Century Modern and I was fortunate enough to spend 2 weeks in Palm Springs for Modernism week just last year.
